Mastering the Art of Refinishing Cabinets
Giving your cabinets a fresh coat of paint can transform your space without the need for a full remodel. Whether you’re looking to update your kitchen or refresh your bathroom, painting cabinets is a cost-effective solution that adds value and style. However, achieving a beautiful look requires more than just slapping on some paint. In this guide, we will explore essential cabinet painting techniques for a smooth and durable finish.

Prepping Your Cabinets
The first step in any cabinet painting project is thorough preparation. Proper prep work lays the foundation for a long-lasting finish. Begin by removing all cabinet doors and hardware. Clean each surface with a degreasing cleaner to eliminate dirt and oils that may interfere with paint adhesion.
Choosing the Right Tools
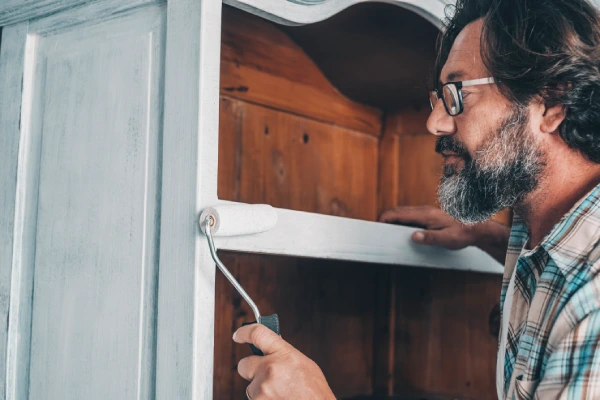
Selecting appropriate tools is crucial for success. For example, you’ll need high-quality brushes or rollers suited for painting cabinets. Foam rollers are great for large flat surfaces, while angled brushes help you reach corners and edges. Invest in painter’s tape to protect areas not meant to be painted.
Primer Application
Applying primer is often an overlooked step but is vital for ensuring that the paint adheres well. Choose a primer compatible with your cabinet material, whether wood or laminate. Apply it evenly with a brush or roller, ensuring every part of the surface is covered. Skipping this step could lead to peeling or chipping later on.
Painting Technique: Brushing vs. Spraying
Deciding between brushing and spraying depends on the finish you desire. Spraying offers a flawless finish but requires equipment and skill. Brushing is more accessible for DIYers and still yields excellent results when done patiently. Consider using both methods: spray for larger sections and brush for detailed work.
- Brushing: Offers control, better for small areas
- Spraying: Provides even coverage, ideal for large projects
- Combination: Use spray for speed, brush for precision

Selecting Quality Paint
The type of paint you choose greatly impacts the durability of your finish. Opt for paints specifically designed for cabinetry. These formulas offer enhanced hardness and are resistant to moisture, making them perfect for kitchens and bathrooms where humidity levels fluctuate.
Ensuring a Smooth Finish
Sanding between coats is key to achieving smoothness. Use fine-grit sandpaper after each layer of paint dries completely. This technique helps remove imperfections and allows subsequent coats to adhere properly. Wipe the dust away with a damp cloth before applying the next coat.
Cost Considerations for DIY Projects
Tackling a cabinet transformation project yourself can save money compared to hiring professionals. However, consider the cost of materials such as primer, paint, brushes, and other tools needed. Additionally, weigh these expenses against your time investment to determine if it’s worth doing it yourself.
- Assess budget versus potential savings.
- Factor in time commitment for DIY tasks
- Consider the long-term benefits of quality materials
Your Next Step to Beautiful Cabinets
After exploring these techniques, you might feel ready to tackle your cabinet project or decide it’s best left to experts. No matter your choice, understanding these steps ensures informed decisions about your home’s transformation. Located in Birmingham, AL, our team specializes in professional refinishing services that exceed expectations. Call Royal Painting today at (251) 322-3693 to learn how we can help bring your vision to life.